 English
 Spanish
  Callback
How to Teach Someone to Drive: A Comprehensive Guide for New Instructors

Table of Contents
- Before You Start: Preparation is Key
- Getting Acquainted with the Vehicle
- Starting with the Basics: Parking Lot Practice
- Progressing to Quiet Streets
- Advancing to Busier Roads
- Mastering Highway Driving
- Tackling Challenging Driving Scenarios
- Developing Defensive Driving Skills
- Practical Tips for Instructors
- Leveraging Technology and Resources
- Preparing for the Driver's Test
- Conclusion
Teaching someone to drive is a significant responsibility that requires patience, knowledge, and a structured approach. As an experienced driving instructor, I've guided countless novice drivers through their journey from nervous beginners to confident road users. In this comprehensive guide, I'll share my expertise to help you become an effective driving instructor, ensuring your student develops the skills and knowledge necessary for safe, responsible driving.
Learning to drive safely is a crucial life skill in our modern world. It opens doors to independence and opportunities, but it also comes with great responsibility. As an instructor, your role is not just to teach the mechanics of operating a vehicle, but also to instill a sense of road safety and defensive driving techniques that will serve your student for years to come.
Teaching someone to drive can be challenging. You'll need to remain calm under pressure, communicate clearly, and adapt your teaching style to your student's learning pace. However, the rewards of seeing your student progress from tentative first attempts to confident, safe driving are immeasurable.
This guide will walk you through the entire process of teaching someone to drive, from initial preparation to advanced skills. Whether you're a parent teaching your teenager or a friend helping an adult learner, you'll find valuable insights and practical tips to make your teaching journey smoother and more effective.
Before You Start: Preparation is Key
Before you buckle up and hit the road, there's important groundwork to lay. Proper preparation will set the stage for successful lessons and help both you and your student feel more confident as you begin.
Ensuring Proper Documentation
The first step in teaching someone to drive is making sure all the legal requirements are met. This includes:
- Learner's Permit: Your student must obtain a learner's permit before they can legally practice driving on public roads. Requirements vary by location, but typically involve passing a written test on traffic laws and road signs. Familiarize yourself with the specific requirements in your area and help your student prepare for the permit test if necessary.
- Car Insurance Considerations: Before your student gets behind the wheel, it's crucial to review your car insurance policy. Many policies cover learner drivers, but it's best to confirm this with your insurance provider. Some companies offer special learner driver insurance or may require you to add the student to your policy temporarily.
Familiarizing with Traffic Laws and Road Signs
As an instructor, you need to be well-versed in current traffic laws and road signs. Even if you've been driving for years, it's worth reviewing the most recent driver's handbook for your area. Traffic laws can change, and you want to ensure you're teaching the most up-to-date information.
Pay special attention to:
- Speed limits in different areas (residential, school zones, highways)
- Right-of-way rules at intersections
- Parking regulations
- New laws regarding distracted driving
Understanding these rules thoroughly will allow you to explain them clearly to your student and correct any misconceptions they might have.
Reviewing the Vehicle's Owner's Manual
Each vehicle has its quirks and features. Before you start teaching, take some time to review the owner's manual of the car you'll be using for lessons. Familiarize yourself with:
- The location and function of all controls
- Any advanced safety features the car might have
- Recommended maintenance schedules
This knowledge will not only help you teach more effectively but also provides an opportunity to introduce your student to the importance of understanding and maintaining their vehicle.
Call Us Today 6AM-10PM

Or fill out the form 24/7
Our team is here to guide you with promotions, instructor availability, and the best training package for you.
Getting Acquainted with the Vehicle

Once the paperwork is in order and you've brushed up on the rules of the road, it's time to introduce your student to the vehicle. This initial familiarization is crucial for building your student's confidence and laying the foundation for safe driving practices.
Exterior Walk-Around
Begin with an exterior inspection of the vehicle. This serves two purposes: it teaches the importance of checking the car's condition before driving, and it helps the student become familiar with the vehicle's dimensions.
During the walk-around:
- Check tire pressure and condition
- Ensure all lights are functioning properly
- Look for any visible damage or leaks
- Discuss the importance of keeping the car clean for good visibility
Explain that this quick check should become a habit before every drive, as it can prevent accidents and breakdowns.
Interior Controls Orientation
Next, have your student sit in the driver's seat and guide them through the interior controls. This is where the real learning begins.
Steering Wheel Position: Teach the correct hand positions on the steering wheel. The old "10 and 2" rule has been replaced with "9 and 3" or even "8 and 4" for better control and to reduce injury in case of airbag deployment.
Seat and Mirror Adjustments: Proper positioning is crucial for safe driving. Show your student how to adjust:
- The seat: They should be able to fully depress the pedals while maintaining a slight bend in their knees.
- The steering wheel: Their arms should have a slight bend when gripping the wheel properly.
- Mirrors: Adjust to minimize blind spots. The rearview mirror should show the entire rear window, while side mirrors should just barely show the side of the car.
Dashboard Controls and Warning Lights: Go through each gauge, button, and indicator light on the dashboard. Explain what they mean and when they might come on. Pay special attention to critical warning lights like the check engine light, oil pressure, and ABS indicators.
Basic Vehicle Maintenance Overview
While not directly related to driving, understanding basic vehicle maintenance is an important part of being a responsible driver. Cover topics such as:
- Checking and changing oil
- Monitoring and maintaining proper tire pressure
- Refueling the vehicle safely
- Checking and topping up other fluids (windshield washer fluid, coolant)
Call Us Today 6AM-10PM
Or fill out the form 24/7
Our team is here to guide you with promotions, instructor availability, and the best training package for you.
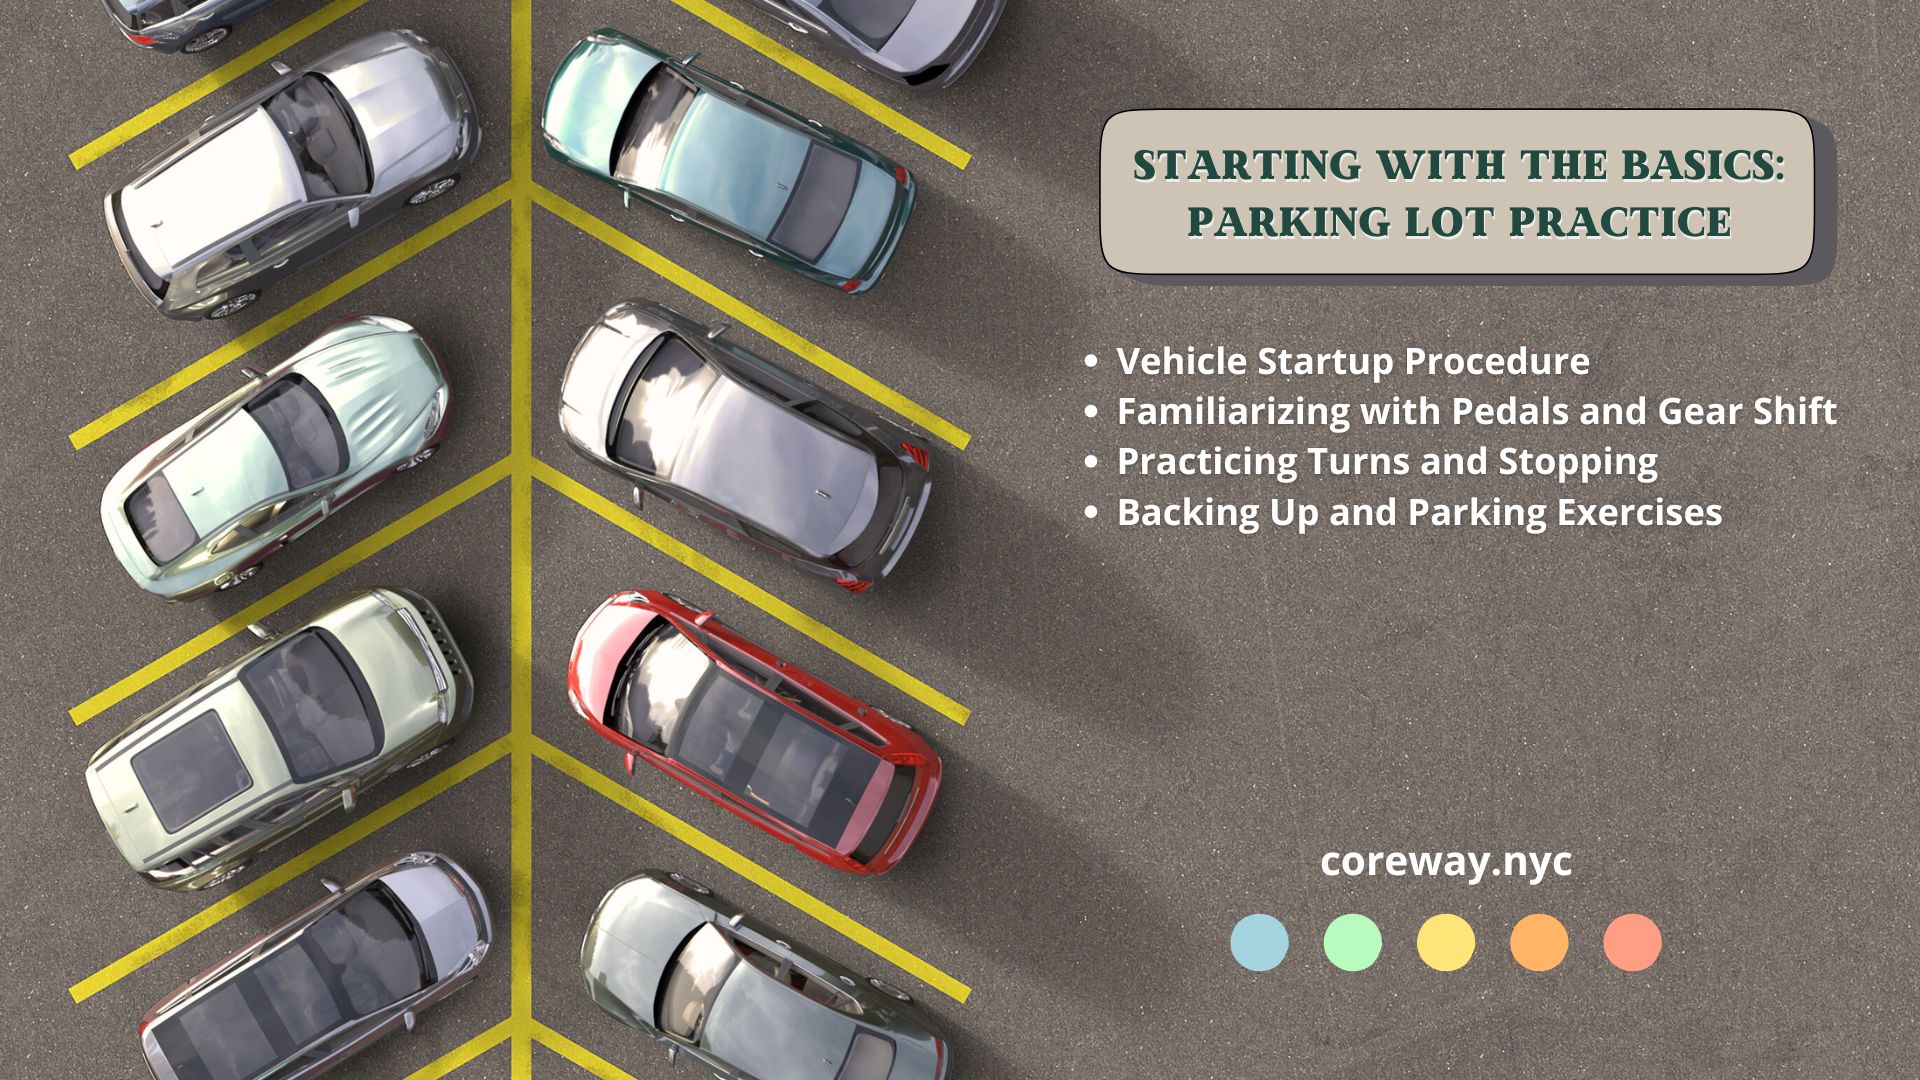
Starting with the Basics: Parking Lot Practice
Now that your student is familiar with the vehicle, it's time to start the engine and begin the exciting journey of learning to drive. The best place to start is in an empty parking lot, where your student can focus on mastering basic skills without the pressure of traffic.
Vehicle Startup Procedure
Begin by teaching the proper startup procedure. This includes:
- Ensuring the vehicle is in park or neutral
- Depressing the brake pedal
- Inserting and turning the key or pressing the start button
- Checking that all necessary lights and accessories are on
Emphasize the importance of following this procedure every time they start the car, as it promotes safety and becomes a helpful routine.
Familiarizing with Pedals and Gear Shift
Before moving the vehicle, have your student practice locating and using the pedals without looking down. Explain the function of each pedal:
- The accelerator for increasing speed
- The brake for slowing down or stopping
- The clutch for manual transmission vehicles (if applicable)
For automatic transmissions, explain the gear shift positions (Park, Reverse, Neutral, Drive) and when to use each one. For manual transmissions, this is also a good time to introduce the concept of the clutch and gear changing, although detailed practice will come later.
Practicing Turns and Stopping
Once your student is comfortable with the pedals and gear shift, it's time for some slow-speed maneuvering. Have them drive slowly in a straight line, then practice gentle turns. Encourage them to:
- Look where they want to go, not just immediately in front of the car
- Turn the steering wheel smoothly and gradually
- Maintain a steady, slow speed during the turn
Next, practice stopping. Have your student accelerate gently to about 10 mph, then come to a smooth stop. Teach them to anticipate stops and begin braking early, gradually increasing pressure on the brake pedal.
Backing Up and Parking Exercises
Backing up can be particularly challenging for new drivers. Start with straight-line backing, then progress to backing into a parking space. Teach your student to:
- Turn and look over their shoulder when backing up
- Use their mirrors effectively
- Back up slowly and be prepared to stop if needed
Once they're comfortable with backing up, introduce parking exercises. Start with pull-in parking, then move on to more challenging maneuvers like parallel parking as their skills improve.
Progressing to Quiet Streets
After your student has mastered the basics in the parking lot, it's time to venture onto real roads. Start with quiet, residential streets where traffic is light and speeds are low.
Maintaining Lane Position
One of the first challenges new drivers face on the road is maintaining their position within the lane. Teach your student to:
- Aim high in steering, looking well ahead of the car
- Use their peripheral vision to monitor their position relative to lane markings
- Make small, smooth corrections rather than large, jerky movements
Emphasize the importance of staying centered in the lane, neither drifting towards the center line nor the edge of the road.
Observing Speed Limits
Introduce the concept of speed management. Explain that posted speed limits are maximums for ideal conditions, not targets. Teach your student to:
- Check their speedometer regularly
- Adjust their speed based on road conditions, weather, and visibility
- Maintain a consistent speed, avoiding unnecessary acceleration and braking
Proper Use of Turn Signals
Emphasize the importance of communication on the road, starting with proper use of turn signals. Teach your student to:
- Signal well in advance of turns or lane changes (usually about 100 feet)
- Ensure the signal is off after completing a turn
- Use signals even when they think no one is around
Navigating Intersections
Intersections require heightened awareness and decision-making skills. Start with simple intersections and gradually progress to more complex ones. Cover both stop signs and traffic lights:
Stop Signs: Teach the importance of coming to a complete stop, checking for cross traffic and pedestrians, and understanding right-of-way rules.
Traffic Lights: Explain the meaning of each light color, including flashing lights. Introduce the concept of the "point of no return" when approaching a yellow light, and the importance of being prepared to stop.
Advancing to Busier Roads
Once your student has demonstrated proficiency on quiet streets, it's time to introduce them to more challenging driving environments. Busier roads with multiple lanes and more complex traffic patterns will help your student develop more advanced driving skills.
Changing Lanes Safely
Lane changes are a crucial skill that requires good judgment, timing, and awareness. Teach your student the proper technique:
- Check mirrors to assess surrounding traffic
- Signal intention to change lanes
- Check blind spots by looking over the shoulder
- Smoothly move into the new lane when safe
- Cancel the turn signal
Emphasize the importance of maintaining speed during the lane change to avoid disrupting traffic flow. Practice this maneuver repeatedly until your student can execute it confidently.
Merging into Traffic
Merging, especially onto highways, can be intimidating for new drivers. Break down the process into steps:
- Accelerate in the merge lane to match the speed of traffic
- Look for a gap in traffic
- Signal and check blind spots
- Smoothly move into the gap
- Adjust speed to maintain safe following distance
Teach your student to be decisive when merging. Hesitation can be dangerous and disrupt the flow of traffic.
Maintaining a Safe Following Distance
Introduce the concept of the "three-second rule" for maintaining a safe following distance:
- Choose a fixed point ahead (like a road sign)
- When the car in front passes that point, start counting
- You should reach the same point after at least three seconds
Explain that this distance should be increased in adverse weather conditions or when driving at higher speeds. Emphasize that maintaining this gap gives them crucial time to react to sudden changes in traffic.
Anticipating and Reacting to Hazards
Developing hazard perception is a critical skill for safe driving. Teach your student to constantly scan the road ahead and anticipate potential issues:
- Look for pedestrians who might step into the road
- Watch for cars that might pull out from side streets
- Be aware of road work or other obstacles
Discuss the concept of "escape routes" - always having a plan for where to steer if a sudden hazard appears. This proactive approach to driving can prevent many accidents.
Mastering Highway Driving
Highway driving introduces new challenges: higher speeds, more lanes, and longer trips. It's important to ensure your student is comfortable with all previous skills before venturing onto the highway.
Entering and Exiting Highways
Teach the proper technique for using on-ramps and off-ramps:
Entering:
- Accelerate on the on-ramp to match highway speed
- Look for a gap and merge smoothly
- Adjust speed to flow with traffic
Exiting:
- Signal well in advance of the exit
- Move to the appropriate lane early
- Decelerate on the off-ramp, not on the highway
Stress the importance of reading signs early to know which lane to be in for exits.
High-Speed Lane Changes
Highway lane changes require extra caution due to higher speeds:
- Check mirrors more frequently
- Be aware that blind spots are larger at high speeds
- Allow more space when moving in front of other vehicles
Teach your student to avoid unnecessary lane changes, as each one increases the risk of an accident.
Passing Other Vehicles Safely
Passing on the highway requires good judgment and timing:
- Ensure passing is legal (solid vs. broken lines)
- Check for faster-moving traffic approaching from behind
- Signal and move to the passing lane when safe
- Accelerate and pass quickly but safely
- Don't move back until you can see the passed vehicle in your rearview mirror
- Cancel your signal once you've completed the pass
Emphasize that if they're unsure about completing a pass safely, it's better to stay behind.
Dealing with Large Trucks and Buses
Teach your student to give extra space and consideration to large vehicles:
- They have larger blind spots, especially on the right side
- They need more time and space to stop
- They make wide turns and may need to swing left before turning right
Advise never to linger beside a large vehicle and to pass them quickly but safely when necessary.
Tackling Challenging Driving Scenarios
As your student becomes more comfortable with basic and highway driving, it's time to introduce them to more challenging scenarios. These situations will test their skills and help them become a well-rounded, confident driver.
Parallel Parking Techniques
Parallel parking is often one of the most daunting tasks for new drivers. Break it down into manageable steps:
- Signal and pull up alongside the car in front of the space.
- Check mirrors and blind spots, then begin reversing slowly.
- When the back of your car aligns with the rear bumper of the other car, turn the wheel sharply towards the curb.
- As the car angles into the space, straighten the wheels.
- When the car is at a 45-degree angle to the curb, turn the wheel the other way.
- Slowly back up until the car is parallel with the curb.
- Pull forward to center the car in the space.
Practice this maneuver repeatedly in a low-stress environment before attempting it on a busy street. Use cones or cardboard boxes to simulate other cars if necessary.
Driving in Adverse Weather Conditions
Different weather conditions require adjustments to driving technique. Cover these key points:
Rain:
- Turn on headlights for visibility.
- Increase following distance due to reduced traction.
- Be cautious of hydroplaning, especially when there's standing water.
Snow and Ice:
- Reduce speed significantly.
- Increase following distance even more than in rain.
- Use gentle, smooth movements when accelerating, braking, or turning.
- If skidding, steer into the skid and avoid harsh braking.
Fog:
- Use low-beam headlights; high beams can reflect off the fog and reduce visibility.
- Reduce speed and use the right edge of the road as a guide.
Emphasize that the best strategy in severe weather is often to avoid driving altogether if possible.
Night Driving Skills
Driving at night presents unique challenges:
- Use high beams when appropriate, but remember to dim them for oncoming traffic.
- Be extra vigilant for pedestrians and animals, which are harder to see.
- Don't look directly at oncoming headlights to avoid being temporarily blinded.
- Keep the windshield clean to reduce glare.
Advise your student that if they're feeling drowsy while driving at night, it's crucial to find a safe place to rest rather than trying to push through.
Handling Emergency Situations
Prepare your student for potential emergencies:
Tire Blowout:
- Grip the steering wheel firmly.
- Don't brake suddenly; instead, take your foot off the gas and let the car slow down naturally.
- Gently steer to the side of the road.
Brake Failure:
- Pump the brakes rapidly.
- Shift to a lower gear.
- Use the emergency brake carefully.
- Look for an escape route that slopes uphill or has a safe runoff area.
Engine Fire:
- Pull over immediately and turn off the engine.
- Get everyone out of the car quickly.
- Don't try to fight the fire yourself; call emergency services.
Stress that staying calm in these situations is crucial. Regular vehicle maintenance can prevent many of these emergencies.
Developing Defensive Driving Skills
Defensive driving is about anticipating dangerous situations and making safe, well-informed decisions based on road and environmental conditions. This approach can significantly reduce the risk of accidents.
Importance of Situational Awareness
Teach your student to constantly scan their environment:
- Look ahead to anticipate potential issues.
- Check mirrors regularly (every 5-8 seconds is a good rule of thumb).
- Be aware of blind spots and check them before making maneuvers.
Emphasize the importance of maintaining a "big picture" view of their surroundings at all times.
Anticipating Other Drivers' Actions
Encourage your student to think about what other drivers might do:
- If a car ahead is drifting in their lane, they might be distracted or impaired.
- If a car is rapidly approaching from behind, be prepared for them to make a sudden lane change.
- Watch for signs that a car might pull out from a side street, like wheels turning or a driver's head visible through the windows.
Teaching your student to predict and prepare for others' actions can help them avoid many potential accidents.
Avoiding Distractions While Driving
Distracted driving is a leading cause of accidents. Teach your student to:
- Put their phone away or use a do-not-disturb mode while driving.
- Set up GPS or music before starting to drive.
- Avoid eating, applying makeup, or other activities that take attention away from the road.
- If something urgently needs attention, find a safe place to pull over.
Stress that no text message or phone call is worth risking their life or the lives of others.
Managing Road Rage Situations
Road rage can lead to dangerous situations. Advise your student to:
- Never engage with an aggressive driver.
- Give right of way if someone is insisting on it, even if they're wrong.
- If being followed by an aggressive driver, drive to a police station or busy public place, not home.
Teach them that the best response to aggression is to remain calm and focus on their own safe driving.
Practical Tips for Instructors
As an experienced driving instructor, I've learned that teaching someone to drive is as much about your approach as an instructor as it is about the technical skills you're imparting. Here are some practical tips to help you become a more effective driving teacher.
Setting Up a Structured Lesson Plan
A well-structured lesson plan is crucial for effective learning. When I first started teaching, I quickly realized that improvising each lesson led to gaps in knowledge and inconsistent progress. Now, I always prepare a clear outline for each session.
Start by breaking down the learning process into manageable chunks. For instance, your first few lessons might focus solely on vehicle controls and parking lot maneuvers. As your student progresses, introduce new skills in a logical sequence. Always build upon previously learned skills to reinforce learning and boost confidence.
Remember to tailor your plan to your student's learning style and pace. Some students might grasp certain concepts quickly, while others may need more time and practice. Be prepared to adjust your plan as needed, but always keep a clear goal in mind for each lesson.
Keeping Lessons Short and Frequent
In my experience, shorter, more frequent lessons are often more effective than long, infrequent sessions. Driving requires intense concentration, especially for beginners, and fatigue can set in quickly. I've found that lessons of about 60 to 90 minutes are usually ideal.
Try to schedule lessons at least two to three times a week if possible. This frequency helps reinforce learning and prevents skills from becoming rusty between sessions. It also allows you to cover a variety of driving conditions – different times of day, weather conditions, and traffic situations – which is crucial for developing a well-rounded driver.
Providing Clear, Calm Instructions
Clear communication is paramount when teaching someone to drive. Remember, what seems obvious to you as an experienced driver might be completely new to your student. Break down complex maneuvers into simple, step-by-step instructions.
It's also crucial to remain calm, even in stressful situations. Your student will pick up on your emotions, and if you're anxious or frustrated, it will affect their performance. I always make a conscious effort to keep my voice steady and my instructions clear, even if my student makes a mistake.
Use consistent language throughout your lessons. For example, if you use the term "brake pedal" in one lesson, don't switch to "foot brake" in another. Consistency helps avoid confusion and aids in building muscle memory.
Offering Positive Reinforcement
Positive reinforcement is a powerful tool in teaching. When your student executes a maneuver correctly or shows improvement, acknowledge it. This doesn't mean you should praise every little thing, but genuine, specific compliments can go a long way in building confidence.
For instance, instead of a generic "good job," you might say, "Your lane change was very smooth. You checked your mirrors, signaled in plenty of time, and merged safely." This kind of specific praise not only boosts confidence but also reinforces the correct steps for the maneuver.
When corrections are necessary, frame them positively. Instead of focusing on what went wrong, emphasize how it can be improved next time. This approach helps maintain a positive learning environment and keeps your student motivated.
Leveraging Technology and Resources
In today's digital age, there are numerous technological tools and resources available to supplement your driving lessons. As an instructor, it's beneficial to familiarize yourself with these options and incorporate them into your teaching strategy.
Using Driving Simulation Programs
Driving simulators can be an excellent tool for introducing new concepts or practicing challenging scenarios in a safe, controlled environment. While they can't replace real-world experience, they can help students familiarize themselves with traffic rules, road signs, and basic vehicle control before getting behind the wheel of an actual car.
Many driving schools now use sophisticated simulators that can recreate a variety of driving conditions and scenarios. If you have access to such technology, consider incorporating it into your lessons, especially for practicing high-risk situations like emergency maneuvers or driving in severe weather.
Recommending Driver's Education Courses
While one-on-one instruction is invaluable, formal driver's education courses can provide a structured curriculum and additional resources. Many of these courses offer a combination of classroom instruction and behind-the-wheel training, which can complement your teachings.
I often recommend that my students enroll in a driver's ed course concurrently with our lessons. This approach provides them with a solid theoretical foundation, while our sessions focus more on practical application and individual areas for improvement.
Utilizing Online Resources and Apps
The internet is a treasure trove of resources for both driving instructors and students. From interactive quizzes on traffic laws to video tutorials on complex driving maneuvers, there's no shortage of supplementary materials available online.
I've found that mobile apps can be particularly useful. There are apps that track driving hours (which is helpful for learners who need to log a certain number of practice hours), apps that provide virtual tours of road signs and their meanings, and even apps that simulate the official driving theory test.
Encourage your student to make use of these resources between lessons. They can reinforce what you've taught and provide additional learning opportunities. However, always vet any resources you recommend to ensure they're accurate and align with your local driving laws and best practices.
Remember, while these technological tools and resources are valuable, they should supplement, not replace, hands-on driving experience. The real learning happens on the road, with you providing guidance and feedback in real-time. Use these resources to enhance your lessons and provide your student with a well-rounded learning experience.
Preparing for the Driver's Test
As your student's skills improve and they gain confidence on the road, it's time to start thinking about the ultimate goal: passing the driver's test. This milestone is not just about earning a license; it's about demonstrating that your student is ready to be a responsible, independent driver.
Review of Common Test Elements
While driver's tests can vary depending on your location, there are some common elements that most tests include. It's crucial to familiarize your student with these components:
- Vehicle Safety Check: Many tests begin with a vehicle inspection. Ensure your student knows how to check tire pressure, test the brakes, and demonstrate that all lights and signals are functioning properly.
- Residential Driving: This typically involves navigating through quiet neighborhoods, demonstrating proper speed control, and adhering to stop signs and other traffic controls.
- City Driving: Here, the focus is often on lane changes, traffic light navigation, and dealing with heavier traffic flow.
- Highway Driving: If included, this section tests merging skills, maintaining appropriate speeds, and safe lane changing at higher velocities.
- Parking Maneuvers: Almost all tests include some form of parking. This could be parallel parking, reverse parking, or angle parking.
- Three-Point Turn: This is a common maneuver that tests a driver's ability to turn a vehicle around in a tight space.
Spend time practicing each of these elements until your student can perform them confidently and consistently.
Practice Test-Taking Strategies
Beyond mastering driving skills, there are strategies that can help your student perform well during the test:
- Stay Calm: Nervousness can lead to mistakes. Practice deep breathing techniques and positive self-talk to manage test anxiety.
- Exaggerate Movements: Encourage your student to make their actions obvious. For instance, when checking mirrors or blind spots, they should move their head noticeably to show the examiner they're performing these checks.
- Narrate Actions: Some examiners appreciate when test-takers verbalize their observations and decisions. This demonstrates awareness and decision-making skills.
- Ask for Clarification: If your student doesn't understand an instruction, they should ask for clarification. It's better to ask than to guess and make a mistake.
Final Assessment of Readiness
As the test date approaches, conduct a mock test that mimics the actual exam as closely as possible. This will give you a clear picture of your student's readiness and highlight any areas that need last-minute attention.
Remember, it's okay if your student doesn't pass on the first try. Many skilled drivers need more than one attempt. Use any feedback from a failed test as a learning opportunity to improve.
Conclusion
Teaching someone to drive is a journey filled with challenges, triumphs, and invaluable lessons for both the instructor and the student. As we've explored in this comprehensive guide, it's a process that requires patience, structure, and a commitment to safety.
Recap of Key Points
Throughout this guide, we've covered a wide range of topics essential to becoming a competent driver:
- The importance of thorough preparation before starting practical lessons
- Mastering basic skills in a safe, controlled environment
- Gradually introducing more complex driving scenarios
- Developing defensive driving techniques
- Preparing for challenging conditions like adverse weather and night driving
- Leveraging technology and resources to enhance learning
- Preparing effectively for the driver's test
Each of these elements plays a crucial role in developing a well-rounded, safety-conscious driver.
Call Us Today 6AM-10PM
Or fill out the form 24/7
Our team is here to guide you with promotions, instructor availability, and the best training package for you.
Frequently Asked Questions
-
How long does it typically take to teach someone to drive?
The time it takes to teach someone to drive can vary greatly depending on the individual's aptitude, confidence, and the amount of practice they get. On average, most learners need about 45-50 hours of professional instruction combined with 20-30 hours of supervised practice. However, some may need more time, while others might progress more quickly. It's crucial to focus on the learner's progress rather than rushing to meet a specific time frame. Remember, the goal is to create a safe, confident driver, not just someone who can pass a test.
-
What's the best car to use for teaching a new driver?
Ideally, you should use a car that the learner will have access to after passing their test. This familiarity will be beneficial in the long run. However, if this isn't possible, look for a car that's easy to handle and has good visibility. Many instructors prefer cars with automatic transmission for beginners, as it allows them to focus on road awareness without the added complexity of gear changes. Some also find that smaller cars are easier for new drivers to maneuver. Regardless of the car you choose, ensure it's in good condition with functioning safety features.
-
How can I stay calm when teaching someone to drive?
Staying calm while teaching someone to drive can be challenging, but it's crucial for effective instruction. Start by setting realistic expectations – remember that mistakes are a normal part of learning. Take deep breaths and speak in a calm, even tone, even if you're feeling anxious. If you find yourself becoming overly stressed, it's okay to end the lesson early and resume when you're both more relaxed. Planning your routes and lessons in advance can also help reduce stress. Remember, your calmness will help your student stay calm and focused as well.
-
What should I do if the learner makes a dangerous mistake?
If a learner makes a dangerous mistake, your first priority is ensuring safety. If necessary, calmly but firmly tell them to stop the car when it's safe to do so. Once you're stationary, take a moment to collect yourselves. Then, discuss what happened, why it was dangerous, and how to avoid similar situations in the future. Use this as a learning opportunity rather than a reason for criticism. If the mistake has shaken either of you, consider ending the lesson and resuming another day. Always emphasize that safety is more important than any driving maneuver.
-
How do I know when the learner is ready for their driving test?
A learner is ready for their driving test when they can drive safely and confidently in a variety of conditions without your intervention. They should be able to handle different road types, traffic conditions, and basic maneuvers without hesitation. A good indicator is when you feel comfortable and relaxed as a passenger while they're driving. Consider conducting a mock test under conditions similar to the actual driving test. If they perform well, handle unexpected situations calmly, and consistently follow traffic rules, they're likely ready. Remember, it's better to delay the test than to risk failure or, worse, an unsafe driver on the roads.
-
What if the learner is very nervous or anxious about driving?
Anxiety is common among new drivers and requires patience and understanding. Start in very low-pressure environments, like empty parking lots, where the learner can get comfortable with the feel of the car. Gradually increase the complexity of the driving environment as their confidence grows. Encourage deep breathing exercises before and during lessons to manage anxiety. Positive reinforcement is key – celebrate small victories and progress. If anxiety is severe, consider recommending professional driving instruction or even counseling to address the root of the fear. Remember, everyone learns at their own pace, and it's okay to take extra time if needed.
-
How can I make the lessons more engaging and less stressful?
To make driving lessons more engaging and less stressful, try to create a positive, relaxed atmosphere. Use humor when appropriate to lighten the mood. Break lessons into smaller, achievable goals so the learner can see their progress. Incorporate variety into your lessons – mix up routes and skills to keep things interesting. You could also use driving-related games or quizzes to reinforce knowledge in a fun way. Always end each lesson by highlighting what went well, not just areas for improvement. Remember, learning to drive should be an exciting journey, not a chore.
-
What are some common mistakes to avoid when teaching someone to drive?
One common mistake is overloading the learner with too much information at once. Instead, focus on one or two skills per lesson. Another is being overly critical – remember to balance constructive feedback with positive reinforcement. Avoid using confusing jargon or assuming the learner understands all driving terms. It's also a mistake to always drive in the same areas – variety is key to developing well-rounded skills. Lastly, don't neglect the importance of teaching defensive driving and hazard perception alongside basic vehicle control skills.
-
How do I teach someone to parallel park?
Teaching parallel parking requires patience and practice. Start by explaining the steps clearly, then demonstrate the maneuver yourself. Next, find a quiet area with plenty of space and use cones or boxes instead of actual cars. Guide the learner through each step, emphasizing reference points and when to turn the wheel. As they improve, gradually reduce the parking space size and introduce real parked cars. Remember, mastering parallel parking takes time, so be patient and offer plenty of encouragement.
-
What should I do if we have a disagreement during a lesson?
Disagreements during driving lessons can happen, but it's important to handle them calmly. If tensions rise, find a safe place to stop the car and take a break. Use this time to calmly discuss the issue, listening to each other's perspectives. Focus on solving the problem rather than assigning blame. If you can't resolve the disagreement, consider ending the lesson and resuming when you've both had time to reflect. In some cases, it might be beneficial to seek the opinion of a professional driving instructor. Remember, the goal is to create a safe, competent driver, so always prioritize this over winning an argument.